Bathtub Refinishing: Why Proper Prep & Adhesion Matter
The short answer
Prep and adhesion decide how long a refinished tub lasts. The new coating sticks to the old surface, so all soap scum, oil and mineral buildup has to come off first. Skip that step and even a great-looking finish can peel early.
Published Last reviewed
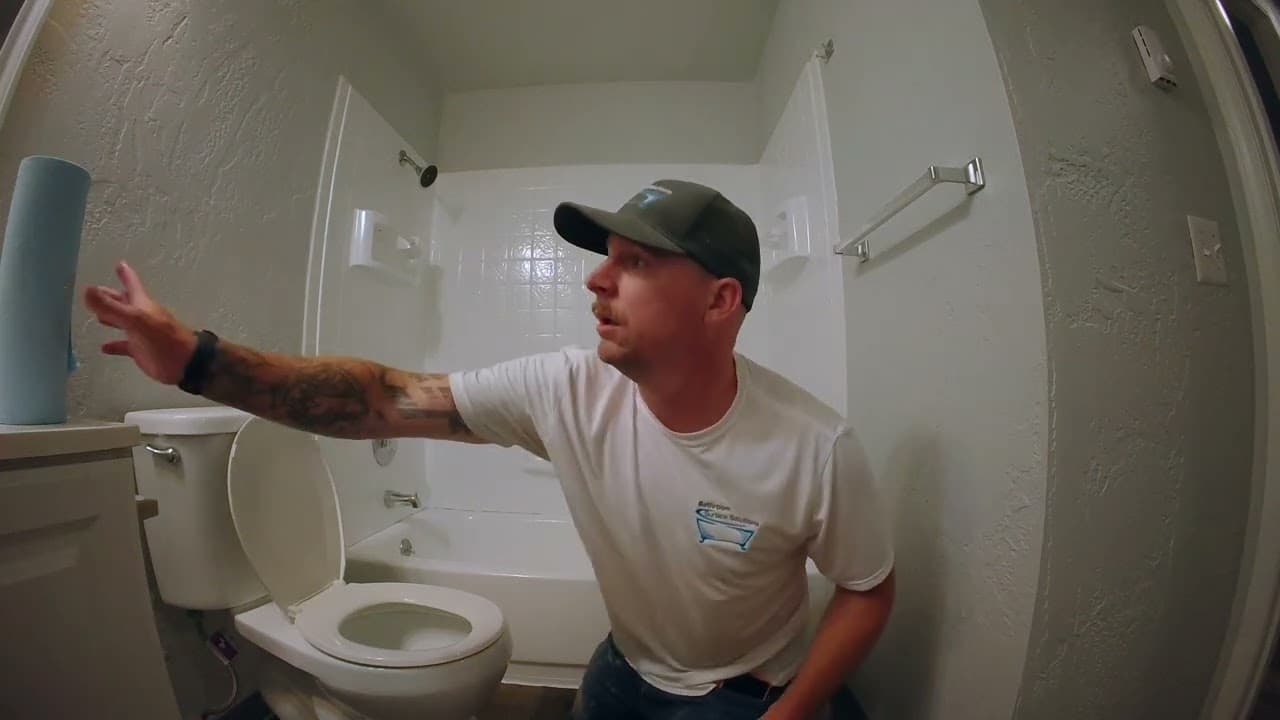
A lasting finish starts before the first coat. This video shows why prep and adhesion are the base of quality bathtub, shower, and tile resurfacing, and why the work you never see matters more than the shine you do.
What is prep?
Prep is everything that happens before the coating goes on: deep cleaning, removing old caulk and failing coatings, fixing chips, and getting the surface ready so the new finish can grab hold. On a good job, prep takes as long as the spraying. That is normal, and it is a good sign when you see it.
Why does adhesion matter so much?
Adhesion is how well the new coating sticks to the old surface. A refinished tub is not a new tub. It is a coating that lives or dies by how well it grips the porcelain, fiberglass or acrylic under it. Good cleaning and prep stop peeling and early failure.
Done right, the coating and the tub act like one surface. Done wrong, the coating is just a sticker, and stickers lift at the edges.
What happens when prep gets skipped?
A rushed job can look great on day one. It never lasts. The pattern we see is always the same: the tub looks fine for a few weeks or months, then small chips show up around the drain, the edges start lifting, and whole sections peel off in sheets.
What you get
- Finish sticks tight and resists peeling for years
- Chips and worn spots get repaired before coating, not hidden under it
- The tub stands up to daily use, cleaning, and hot water
- The work qualifies for a real written warranty
What goes wrong without it
- Dirt and soap scum trapped under the coating cause early peeling
- Edges lift around the drain, overflow, and corners first
- The failed coating has to be stripped before the tub can be redone
- The redo costs more than doing it right the first time
How do pros prep a tub?
- Deep-clean off soap scum, body oil and mineral buildup
- Remove old caulk and any loose old coating
- Repair chips, scratches and worn spots
- Roughen the surface so the bonding agent and coating can stick
- Apply a bonding agent matched to the tub material
- Spray the topcoats with the room masked and ventilated
Every step protects adhesion. Our bathtub refinishing process follows this order on every job. That is why we can back the work with a written warranty.
How long should the finish last?
With good prep and quality coatings, a refinished tub should give you many years of daily use. Simple habits keep it looking new even longer. If small dust nibs or rough spots show up while it cures, a careful buff and polish leaves the surface glass-smooth.
Have a tub that is peeling from an old job, or one that has never been refinished? Get a free estimate and we will tell you exactly what your tub needs.
Frequently asked questions
Peeling almost always comes back to prep. If soap scum or oil is not fully removed, the new coating cannot stick. It lifts over time, usually starting around the drain, corners and edges.
Yes. The failed coating gets stripped off, the surface is cleaned and prepped, and the tub is refinished again. It costs more than a first-time job because of the extra labor. That is why prep done right the first time matters.
About as long as the spraying itself. If a refinisher is in and out fast, prep is usually the step that got cut.
Yes. Most projects are backed by a 100% satisfaction guarantee and a written 10-year warranty. That warranty is only possible because of the prep process described here.
Read the full transcript
Hello. Isaiah here with Bathroom Surface Solutions, CCB 181883, L&I BATHRSS742K2. Today we're talking about adhesion and preparations and what that means in the refinishing industry. In order to get a good adhesion, we need to have a good preparation — they coincide with each other. Preparation is what's just going to make everything stick for a long period of time, or just not stick that well at all. The process we're using is to make sure that sticks for a very long time. Given we have the 10-year warranty, the life expectancy for us with our material is 15 to 20 years, depending on care and maintenance by the clients. Not everybody's perfect — they might get the 10 years, they might get the 15 years, they might get a lot longer than that. It's case by case, but what we do is make sure we're doing the correct preparations to the original surface.
You can see the original surface here — it's just flat, essentially, just smooth. If we're not preparing that surface properly, if we're not making any sort of grooves in that surface, the material, yeah, will stick, and we could do just a chemical bond to it with an adhesive enhancer — or we could do an actual etch and sanding, and that makes it so the material sticks for a longer period of time. Hence why we give that longer warranty: we know our preparation is better.
The enamel, porcelain, and glaze surfaces get the acid etching wash, and this acid is a compound that cleans the surface and etches it. What I mean by etches is it makes it just a little bit rough without actually pitting it or making it too porous — it will make the surface a little bit porous. After 5 to 10 minutes, depending on how warm it is, the acid will actually start to bubble up a little bit. Then we wash it off with a Scotch-Brite pad and water, and then a sponge just to clean it completely off — maybe sandpaper if we have to, instead of a Scotch-Brite pad. It's kind of case by case; it depends on how much gunk and debris is on the actual tub or enameled surface before we start prepping it. What that will do is clean — it's going to remove the gunk, remove the oil from bodies, remove the waxy soap scum and any other contaminants. What that does is completely open up, basically, the pores of the bathtub. That way, after we've cleaned and masked and we're ready to spray, it is ready for the primer.
The other type of preparation we would do is sanding, and that's going to give you the same effect: fiberglass, plastic, laminate, Formica — anything kind of acrylic, anything kind of softer than an actual enamel or porcelain. By using like a 100 to 150 grit sandpaper, that's actually going to create that scuff, that adhesion response that we're going to want when we start spraying on there.
After we have done the proper preparation, if it's the porcelain or the enamel or the glaze surface, we're going to apply a bonding agent. What we do is wipe that on after everything's cleaned, after everything's masked, when we're about ready to spray — we wipe that on and let that dry. That way the epoxy base primer just sticks so much better for so much longer. That is actually an added step that we started taking on about a year ago, just to make sure we're giving the clients the longest lasting finish possible.
Another way to prep a surface depends on how the surface originally is — we have non-reglazed finishes already, but let's talk about a previously refinished surface. What happens here is you start getting chips — I know it's hard to see, and my art is terrible and my writing is terrible — but you get chips or it starts peeling, and basically it's just an uneven surface in there. What we have to do essentially is razor blades, sandpaper. There are three different methods to stripping the tub, whether it be partially stripping — where we're sanding everything nice and smooth again, just feathering in the old, as long as it's in good condition still and the old refinishing material is still sticking really, really well — and you're going to tell by hitting it with razor blades and sandpaper. We're going to know if we can feather that or if we're going to have to fully strip it.
One method would be the partial strip, where we're sanding it and everything seems to be sticking down extremely well in most parts — we just have a couple of peels here and there, and we'll make sure to razor blade and smooth that out and feather it in. Another version would be to fully, completely strip, and we're just going back to square one. That is either going to be sandpaper and razor blades back to the original surface, depending on how well that's sticking, or it's going to be a chemical stripper. I don't prefer to use that method because it is a little more toxic — it's not as safe for us. We have the protective equipment, but we want to make sure that we're not putting any toxins or vapors in the air for our clients and for ourselves too, because the good strippers are the really smelly ones. The non-smelly ones might take days for it to actually come off, and we don't want to charge the client a whole lot extra to extend the work and leave them without their bathtub for an extra day or two just so we can get the old material. We prefer the old 60-grit sandpaper and razor blades if we can do it. We just want to get back to that original surface — that way we can start over with the etching, especially if it's a porcelain tub; or while we're sanding it, if it's a fiberglass one that's already refinished, we've already sanded it, so we're at that point already. So: feathering, fully stripping, whether it be razor blades and sandpaper or chemical.
After the surface is prepared and we have done either the bonding agent or — if it's the fiberglass, plastic, acrylic type surface and we've already scuffed it up — we'll clean it with lacquer thinner. No, hold on, go back: before the bonding agent, it's lacquer thinner, because we want to make sure to clean any extra contaminants from our body, our skin — if we're not wearing gloves after we've sanded something and we have some oil on our skin or something like that. After the lacquer thinner, then the tack rag, which is a sticky rag, and then we blow it out really well, and then we tack it again with a sticky rag to make sure we get as much debris as possible. Then we'll wipe on the adhesive enhancer and we're ready to spray.
Essentially, as long as we have a good prep — as long as you've done the correct prep, which we take pride in, and that's why we give such a great warranty — we want to make sure that surface is going to stick for the longest period of time possible. Whether it be the sanding and etching, or the previously-refinished feathering, or the chemical or sandpaper-and-razor-blade full strip and starting over with the acid, the best thing that we can do is give you the longest lasting refinishing possible. That kind of ends my segment here on adhesion and preparations. Really appreciate you coming over. All right, that ends my section here — I've got a phone call to answer. I really appreciate you stopping by. You have a great day.